Using Elyra with the Kubeflow Notebook Server
In this example we will show how to launch Elyra using Kubeflow’s Notebook Server.
Requirements
A Kubeflow Cluster
A standard installation of Kubeflow will include the Notebook Server as part of the application stack
Select the desired Elyra container image version from the
elyra/kf-notebookrepositories on Docker Hub or quay.io. Do NOT use other images, such as the ones inelyra/elyra.OR
Create a custom Elyra container image using this
Dockerfileas a base and customize it as desired.
Launching Elyra in the Kubeflow Notebook Server
In the default Kubeflow welcome page, in the left side menu, click on
Notebook Servers
Click on
NEW SERVER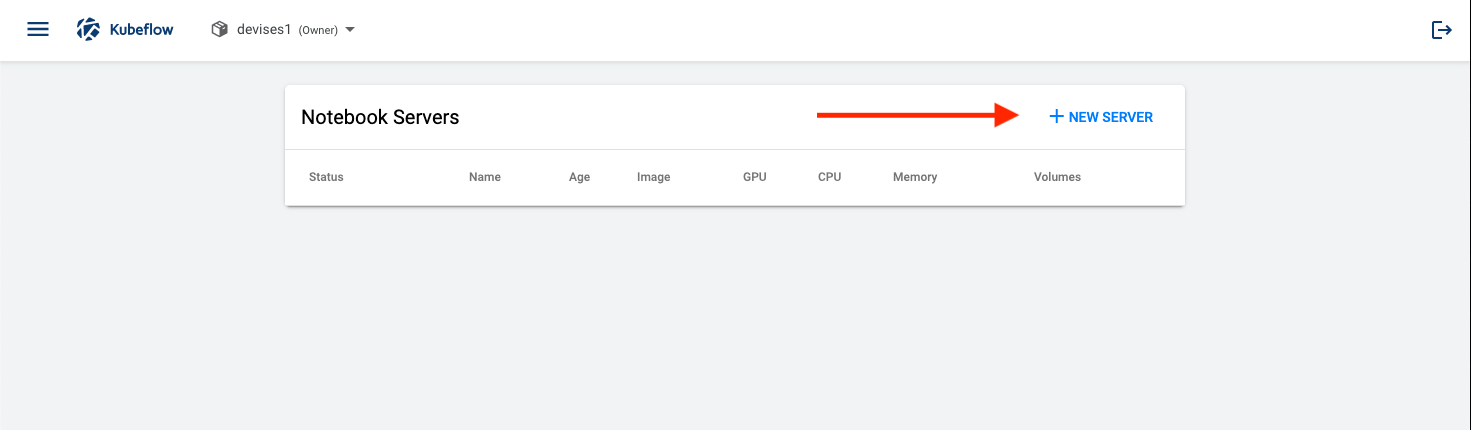
Choose a
namefor your notebook server, and underImagecheck the box labeledCustom Image.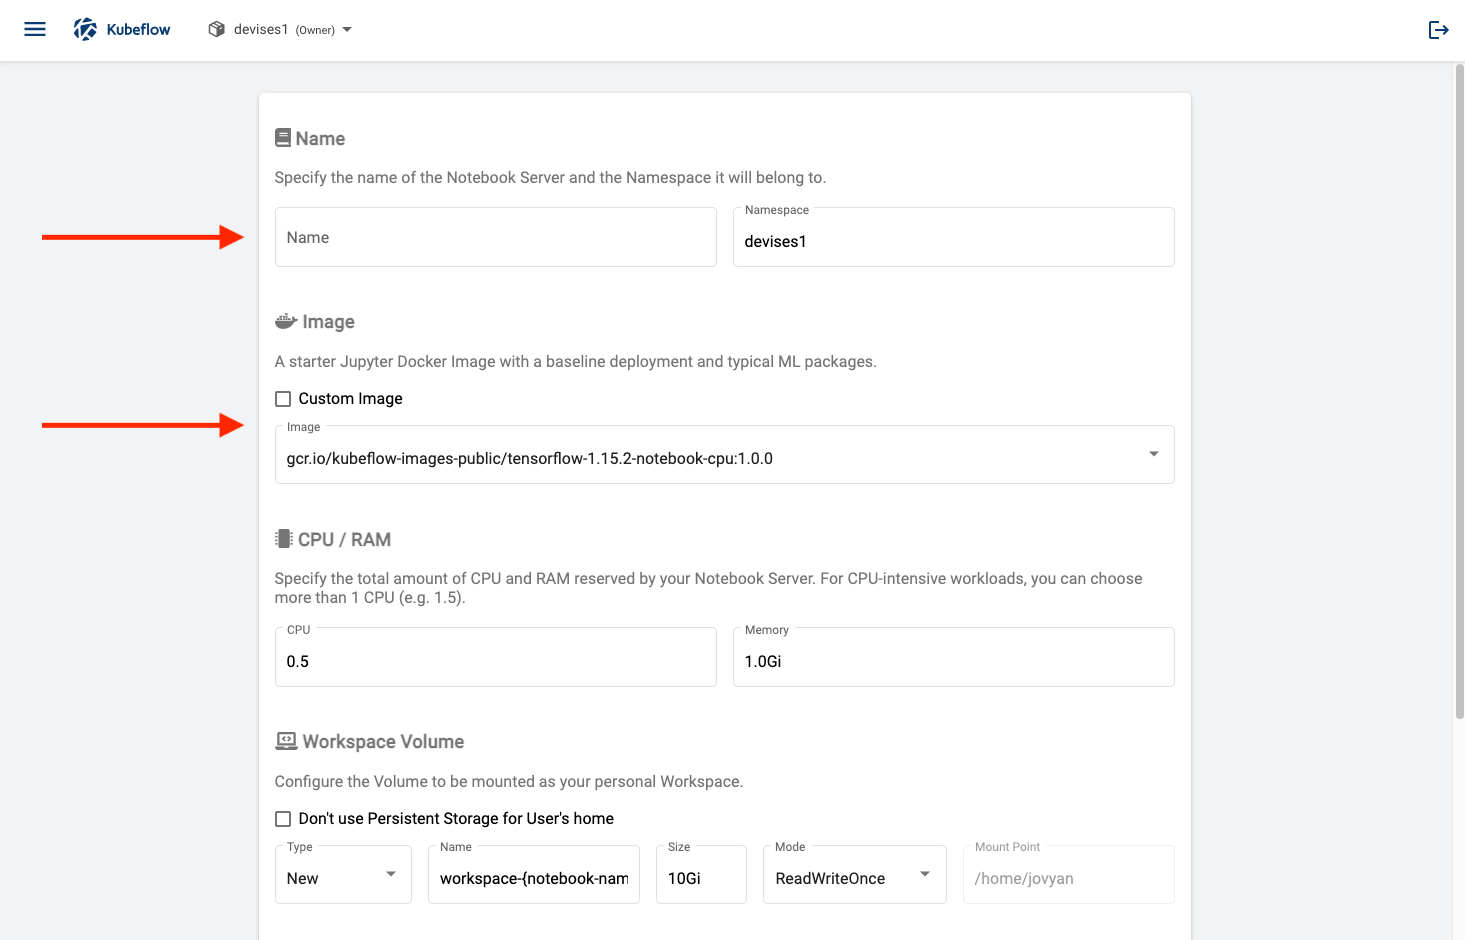
As
Custom Imageenterelyra/kf-notebook:<ELYRA_VERSION>, replacing<ELYRA_VERSION>with the desired image tag, e.g.2.1.0.
To pull an image from quay.io prefix the image name with
quay.io, e.g.quay.io/kf-notebook:2.1.0.Customize the resources as required. We recommend at least 1 CPU and 1Gi of memory.
Your notebook server with Elyra should begin the provisioning process now. When complete, you’ll notice a green light and arrow to the left of your notebook. Click on
Connectto launch Elyra.
Next step:
Additional Resources and Documentation
Official Kubeflow Notebook Server Documentation - Creating a Jupyter Notebook Server